
灵活使用Photoshop滤镜模拟水粉花卉效果
时间:2024/1/30作者:未知来源:手揣网教程人气:
- [摘要]先看原图 效果图 1.在Photoshop中打开一副图像。单击“滤镜-艺术效果-水彩”,设置如图,效果如图。 2.在通道面板上点击“创建新通道”按钮,新建Alpha 1通道。执行“滤...
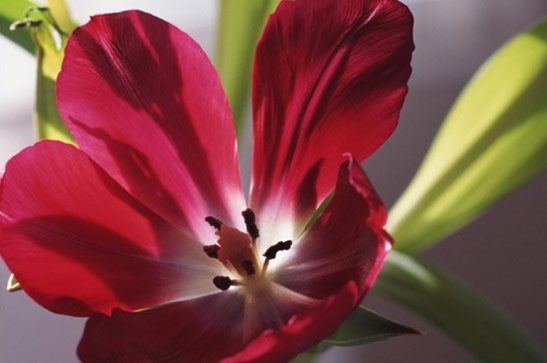
先看原图
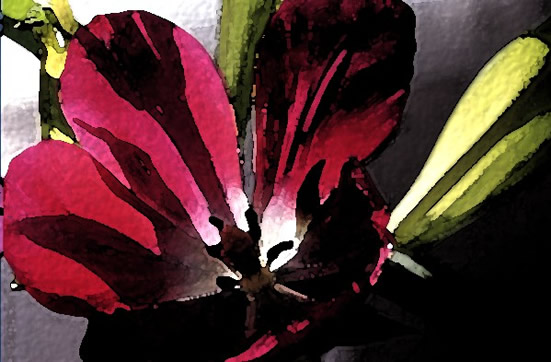
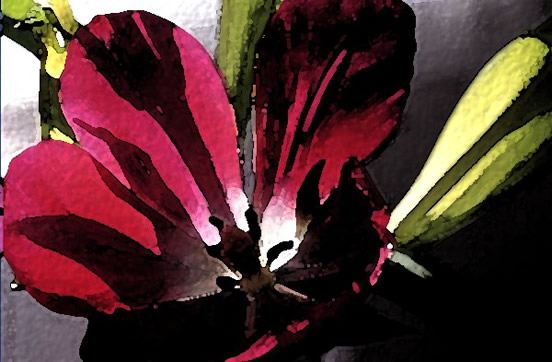
效果图
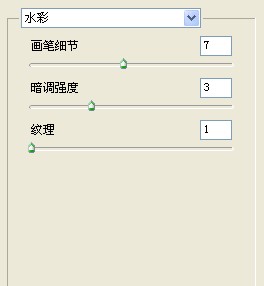
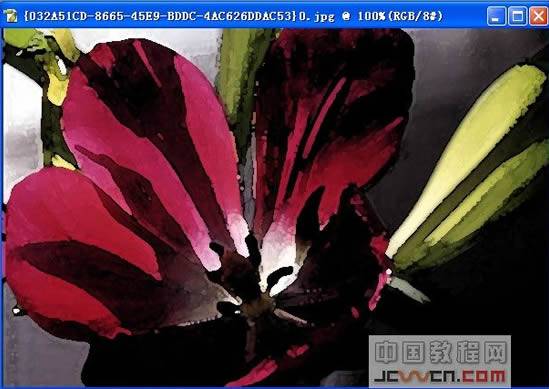
1.在Photoshop中打开一副图像。单击“滤镜-艺术效果-水彩”,设置如图,效果如图。
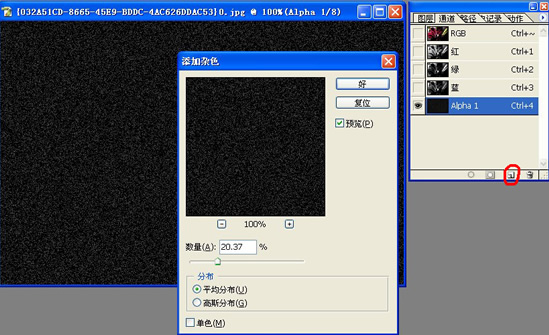
2.在通道面板上点击“创建新通道”按钮,新建Alpha 1通道。执行“滤镜-杂色-添加杂色”,设置如图。
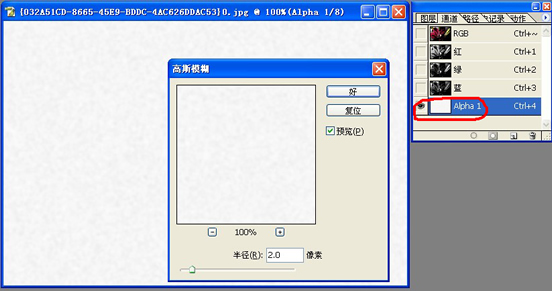
3.执行“图像-调整-反相”,然后执行“滤镜-模糊-高斯模糊”,设置如图。
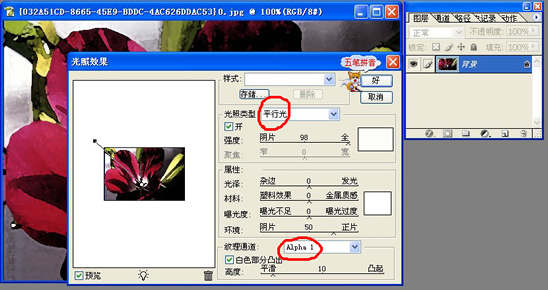
4.回到背景图层,执行“滤镜-效果-光照效果”,设置如图(注意图中红色标记处!其它参数可凭个人喜好自行设置)。
5.最终效果如图。呵呵,是不是很简单哪!
 Photoshop默认保存的文件格式,可以保留所有有图层、色版、通道、蒙版、路径、未栅格化文字以及图层样式等。
关键词:灵活运用Photoshop滤镜模拟水粉花卉效果