Photoshop:图像反转负冲效果
时间:2024/4/27作者:未知来源:手揣网教程人气:
- [摘要]图像反转负冲效果,对于照片的修改很有帮助。 先看看效果对比: 打开通道面板。选择蓝色通道。选择菜单“图像/应用图像”如下图设置: 选择绿色通道选择“图像/应用图像”如下图设置: 色彩调节...
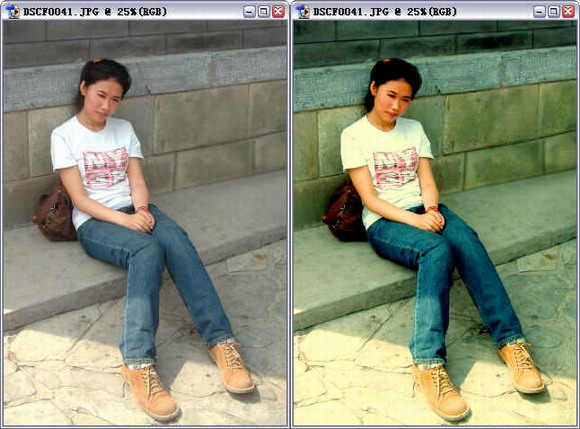
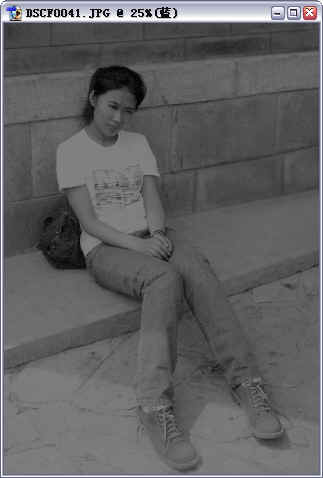
图像反转负冲效果,对于照片的修改很有帮助。
先看看效果对比:
打开通道面板。选择蓝色通道。选择菜单“图像/应用图像”如下图设置:

选择绿色通道选择“图像/应用图像”如下图设置: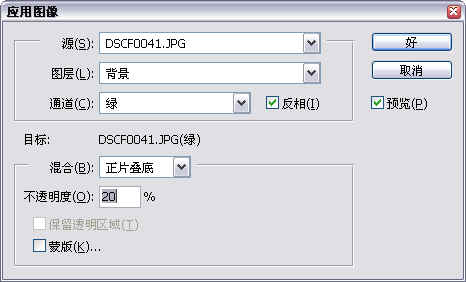
色彩调节部分完成了,看看这时的图像:
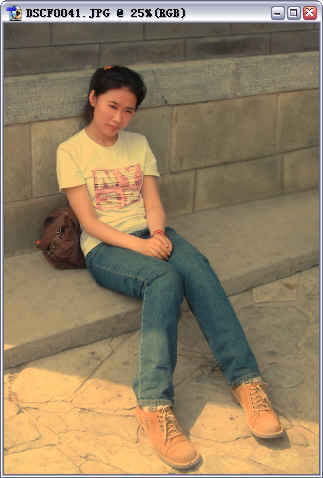
色彩调节部分完成了,看看这时的图像:
看一下R/G/B通道
红色通道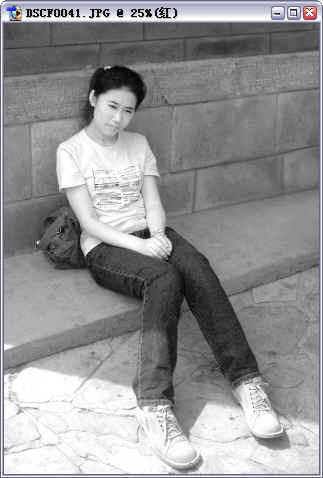
绿色通道

蓝色通道
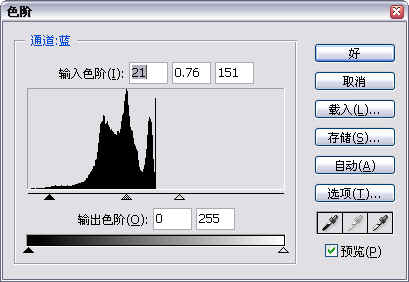
图像现在层次感不明显。色彩饱和度太低。接下来分别调节各色彩通道的色阶。选择蓝色通道。选择菜单“图像/调整/色阶”如图设置:
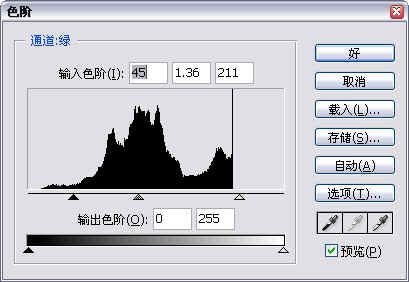
选择绿色通道并如图调整色阶
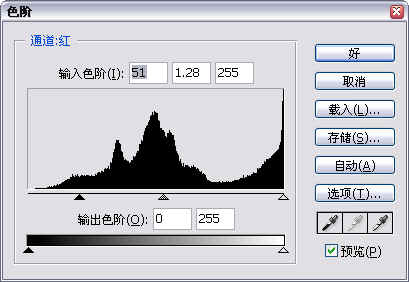
选择红色通道设置色阶
现在的效果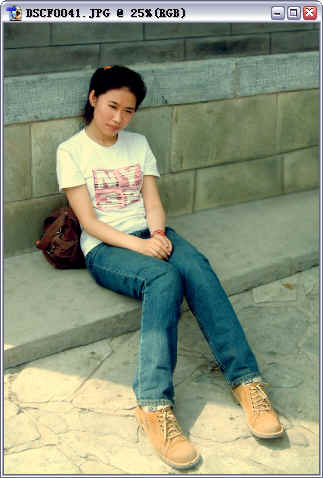
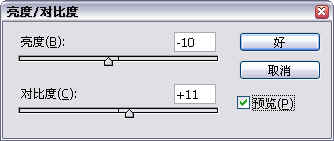
增加图像对比度,增加图像层次。选择菜单“图像/调整/亮度、对比度”设置如下:
最后让图像更鲜艳一些。选择“图像/调整/色相,饱和度”设置如下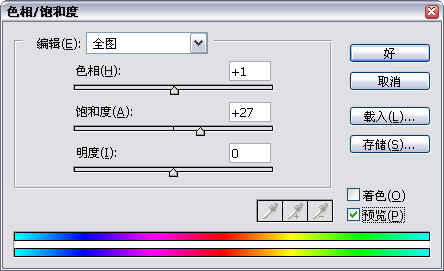
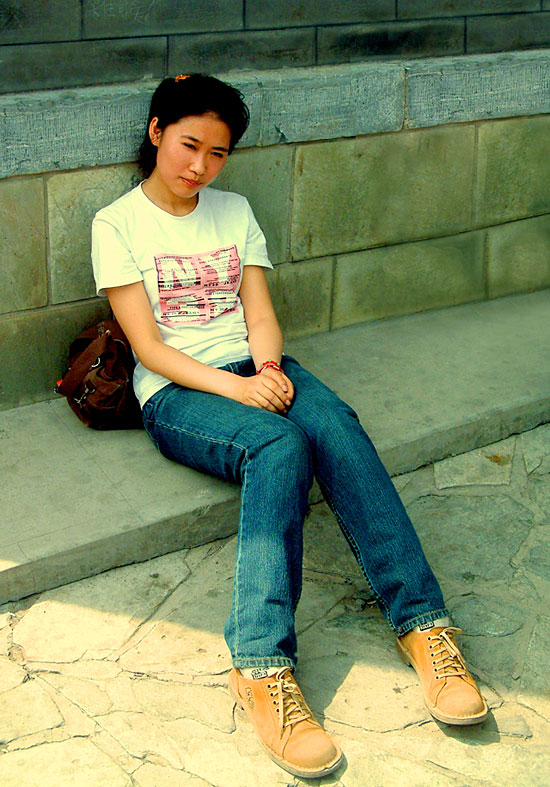
最后看看完成后的效果:
 Photoshop默认保存的文件格式,可以保留所有有图层、色版、通道、蒙版、路径、未栅格化文字以及图层样式等。
关键词:Photoshop:图像反转负冲效果