Photoshop调出唯美白皙卷发公主头像照片
时间:2024/7/12作者:未知来源:手揣网教程人气:
- [摘要]这次的整体思路是,先调色,修人的皮肤,最后是对人物的液化。步骤其实没有先后,也可以先液化再进行修图。效果图: 原图:打开图片,复制图层,对照片进行二次裁图。(图1)图1整体的漂白人物的肤色,这里用的...
这次的整体思路是,先调色,修人的皮肤,最后是对人物的液化。步骤其实没有先后,也可以先液化再进行修图。
效果图:
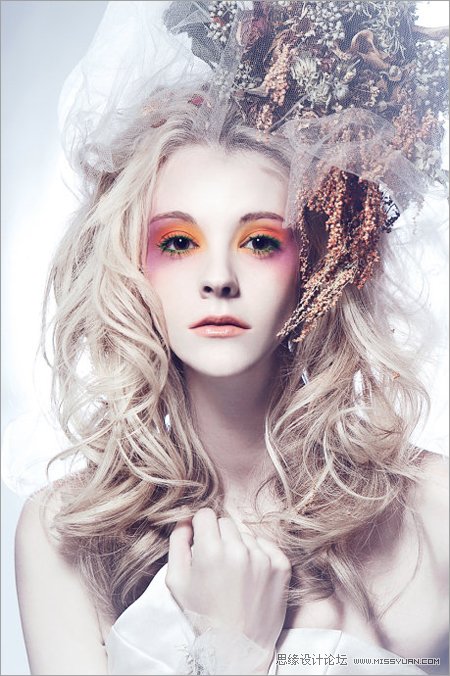
原图:

打开图片,复制图层,对照片进行二次裁图。(图1)
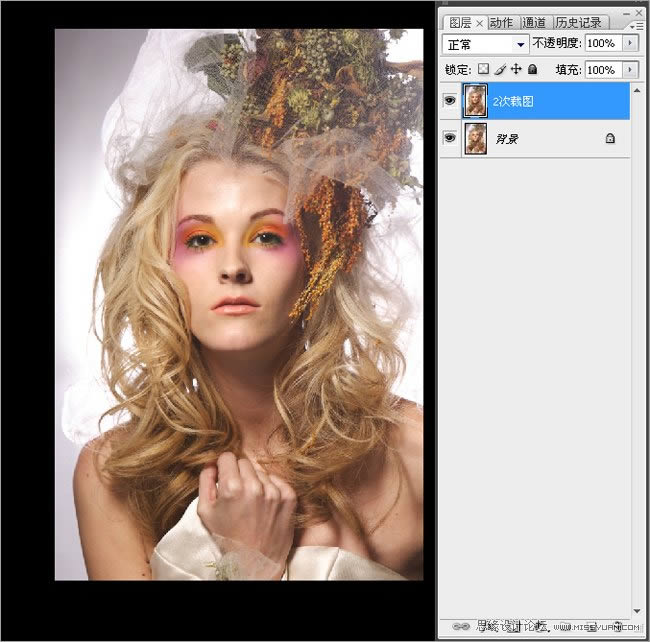
图1
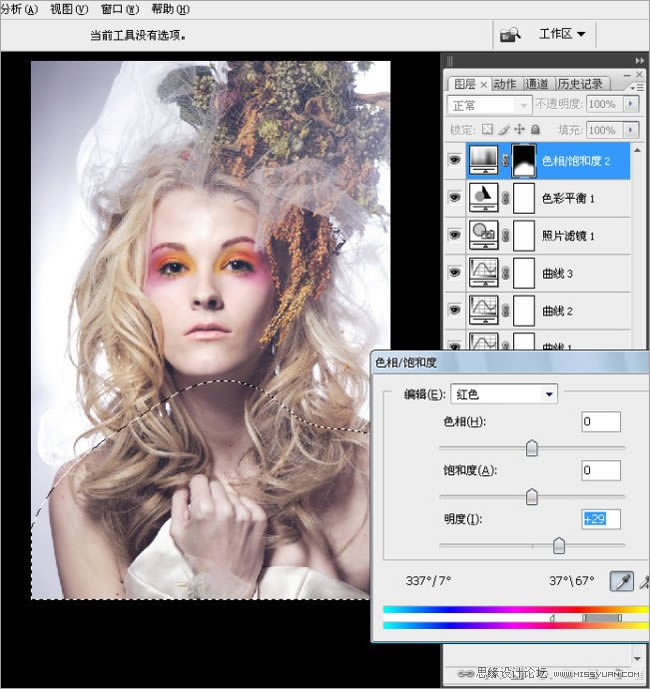
整体的漂白人物的肤色,这里用的是色相饱和度,直接加红色通道的明度。
现在看到,眼睛的颜色也已经变了,在蒙版中,把眼睛部分擦掉。(图2,3)
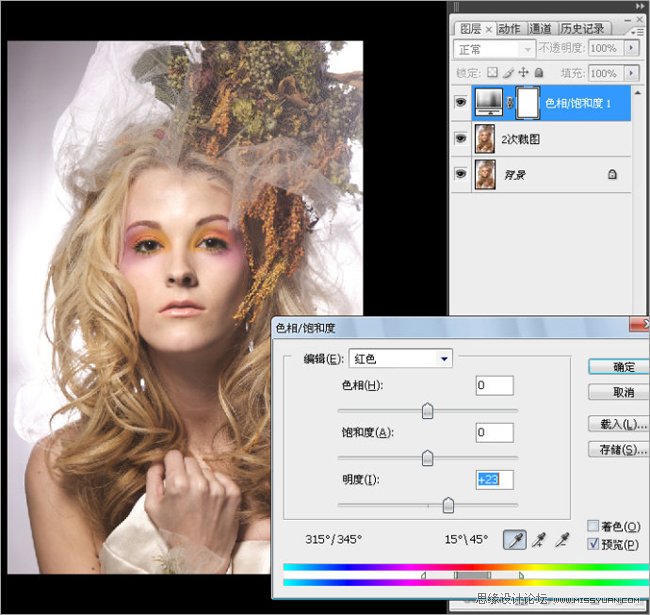
图2
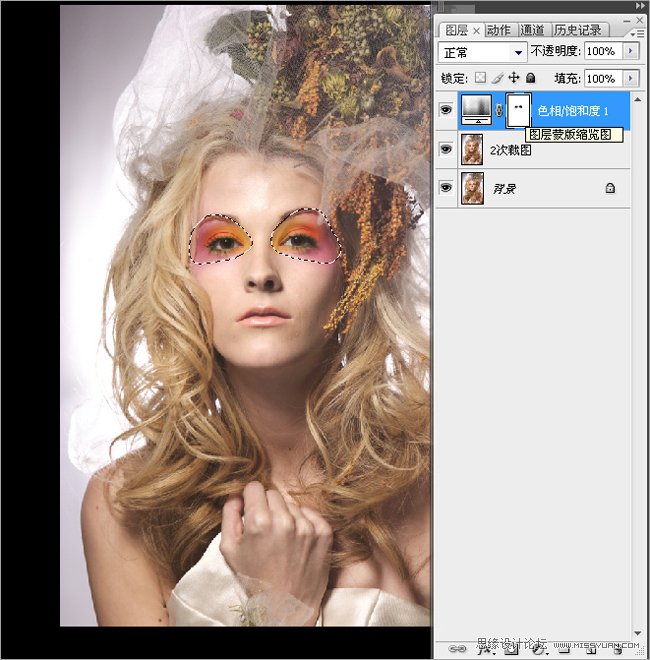
图3
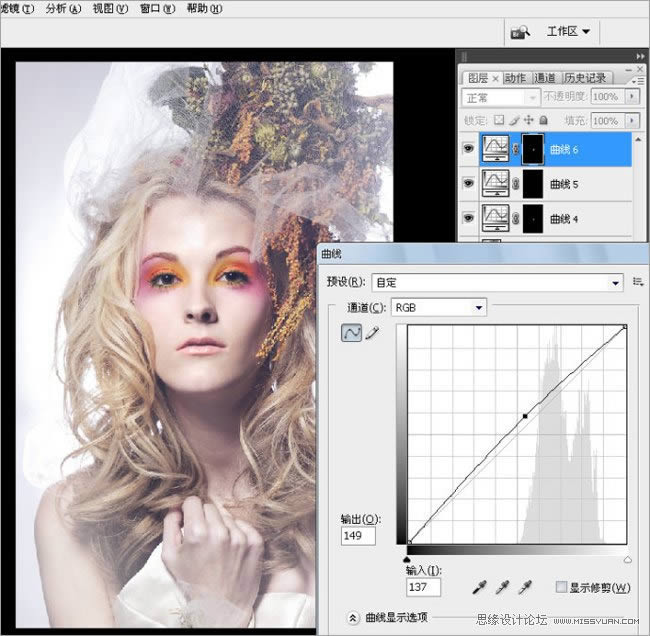
继续曲线调亮整个图片,对图片进行整体的调色。
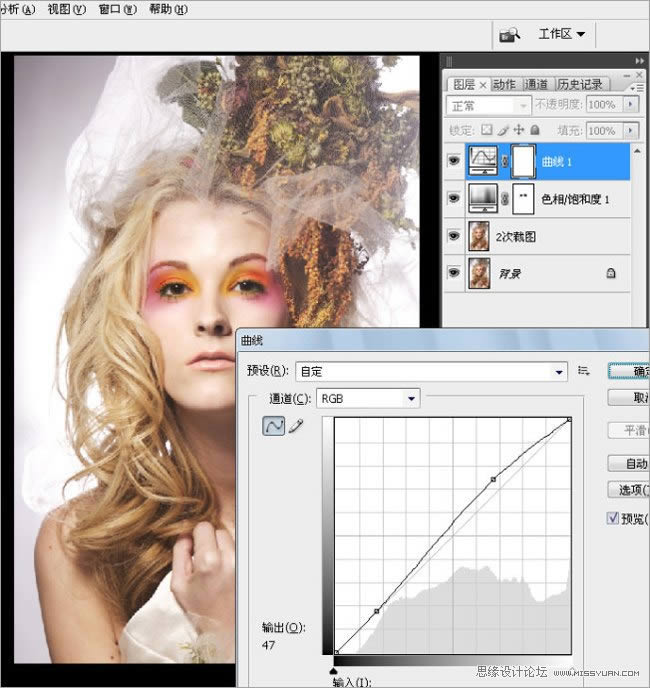
调色的时候,越简单越好,在不破坏照片质量的前提下进行调色,达到必要的效果。(图5-9)
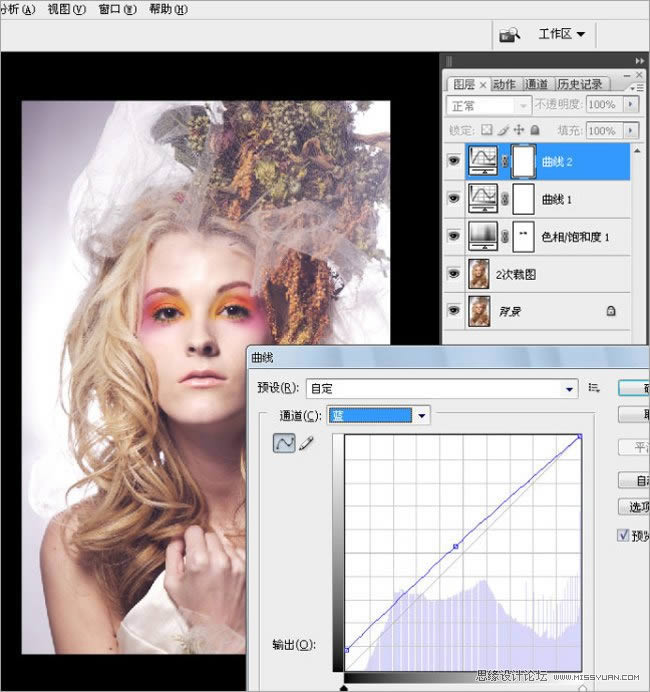
图5
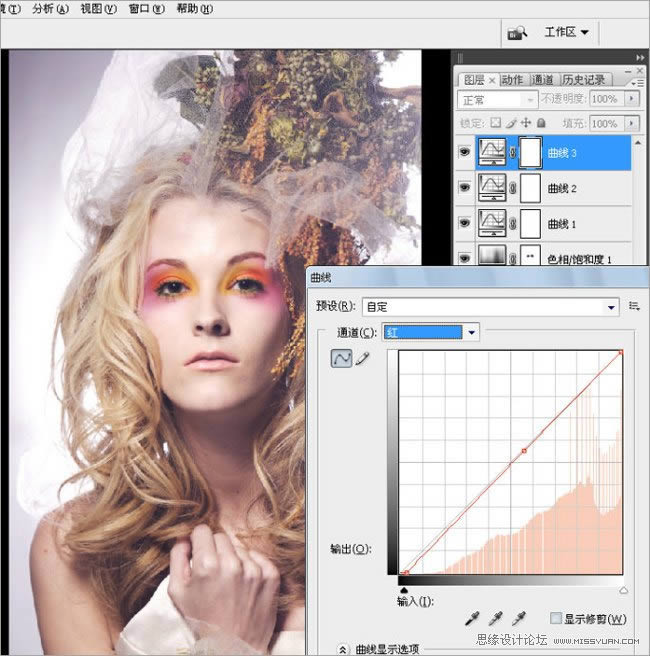
图6
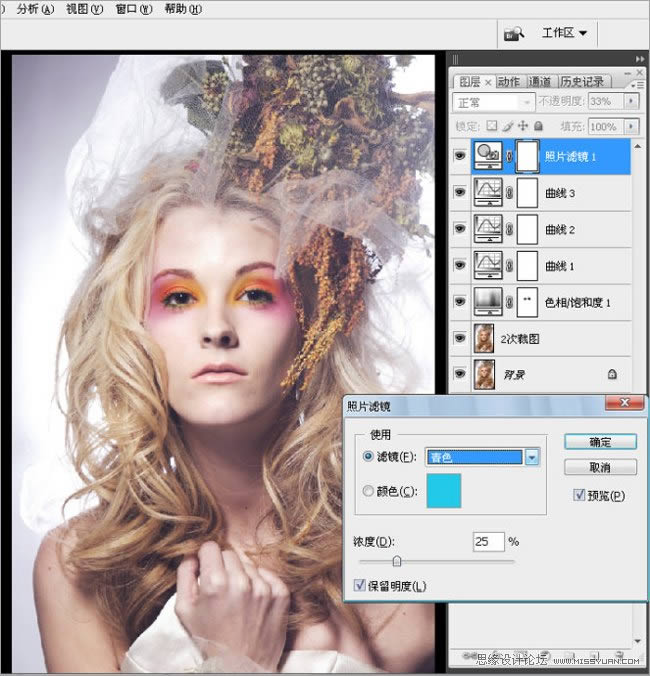
图7
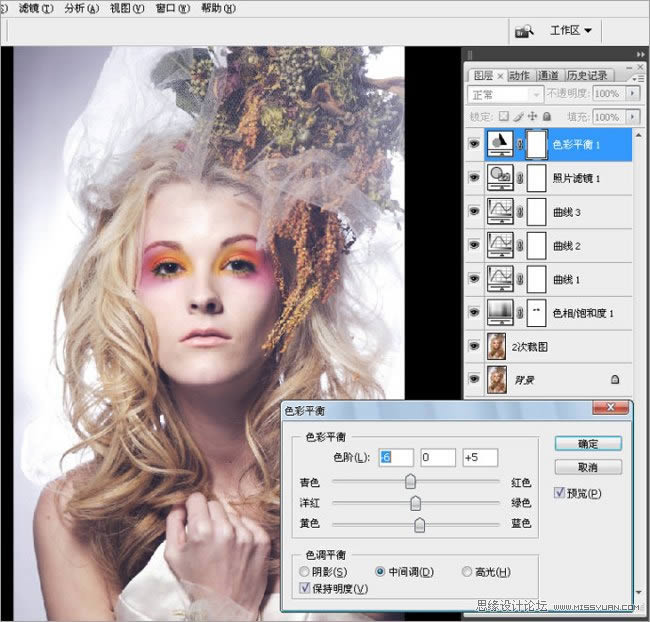
图8
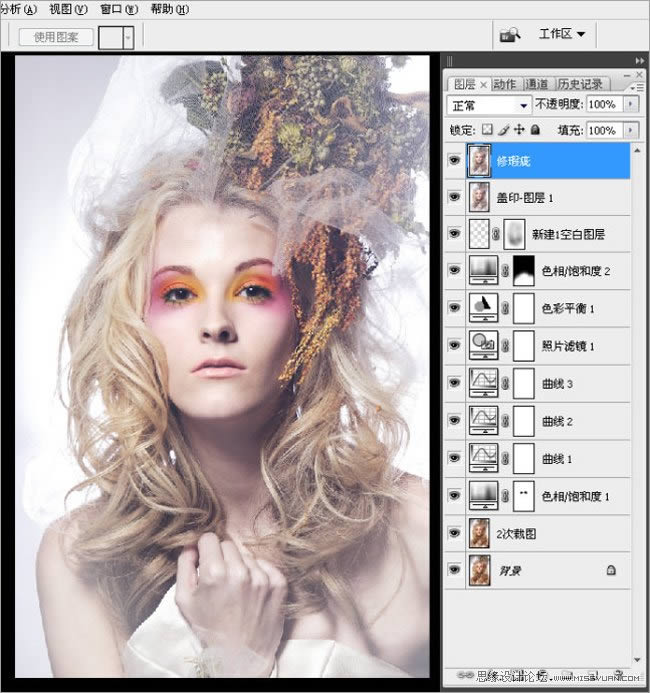
为了营造白色的效果,新建透明图层,用白色渐变透明度30%的白色填充。然后把不需要的地方在蒙版中擦掉。(图10-11)
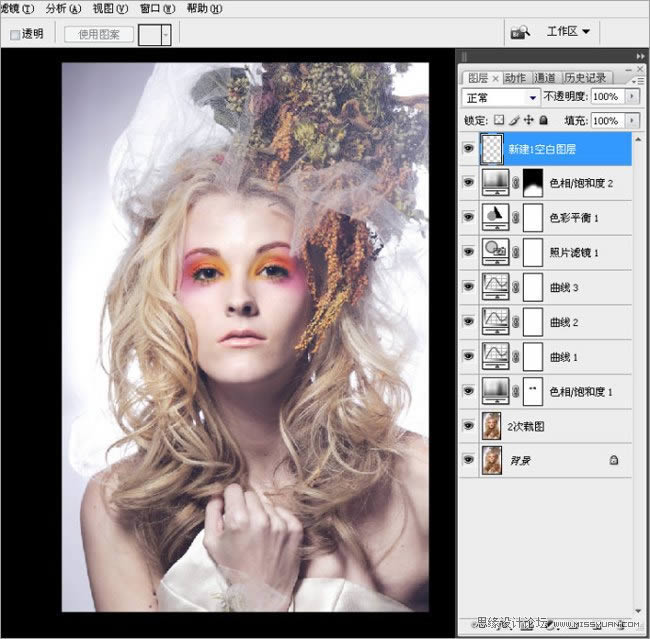
图10
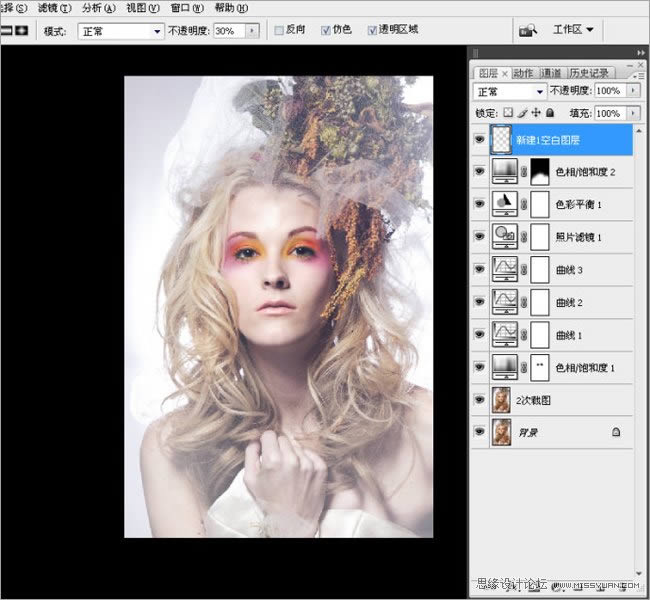
图11
盖印图层,进行细致的瑕疵修饰。(图12-13)
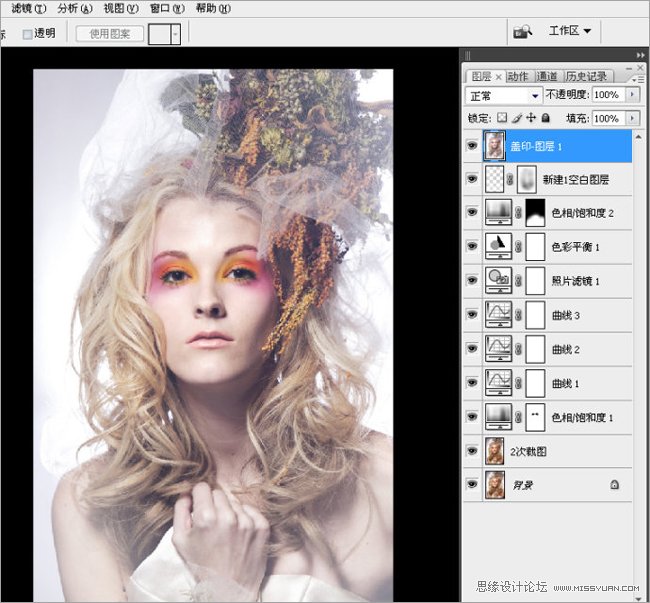
图12
脸上光线不均匀的地方,单独选出,用曲线提亮或者压暗。(图14-19)
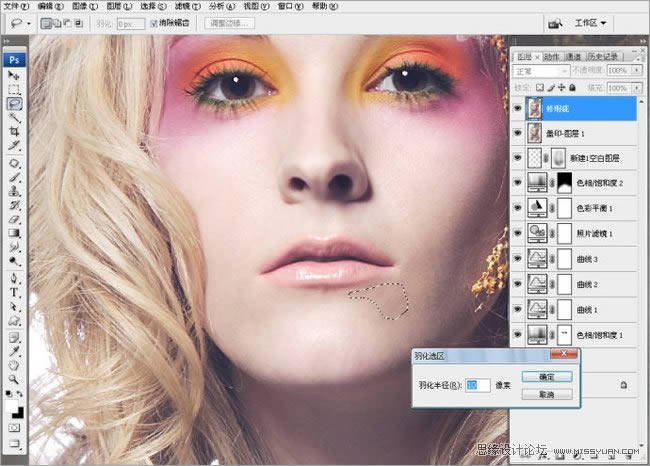
图14
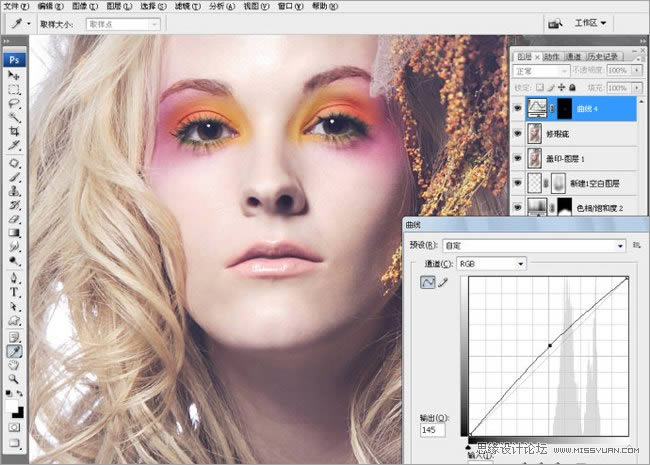
图15
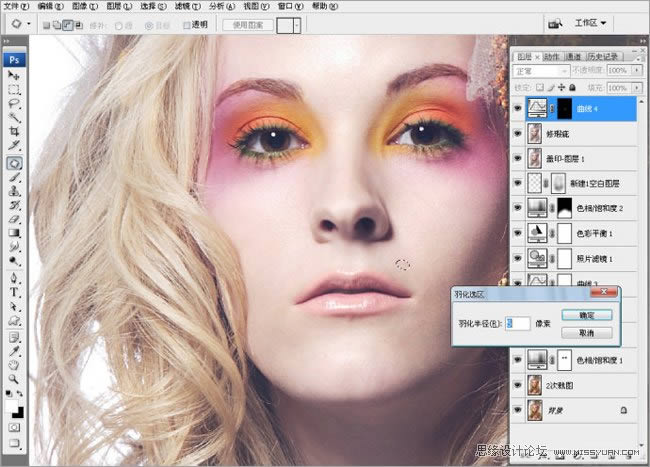
图16
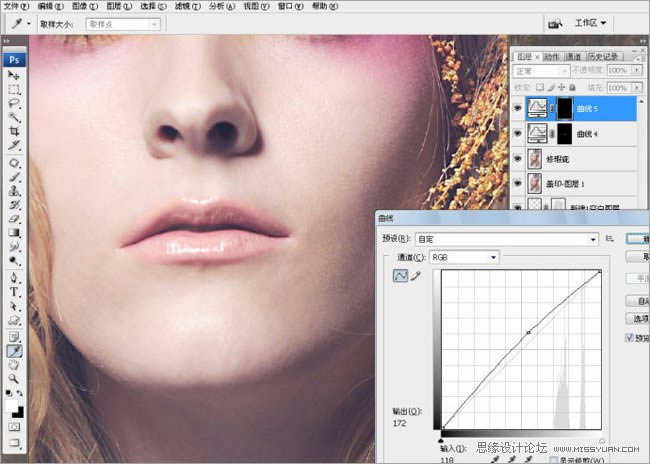
图17
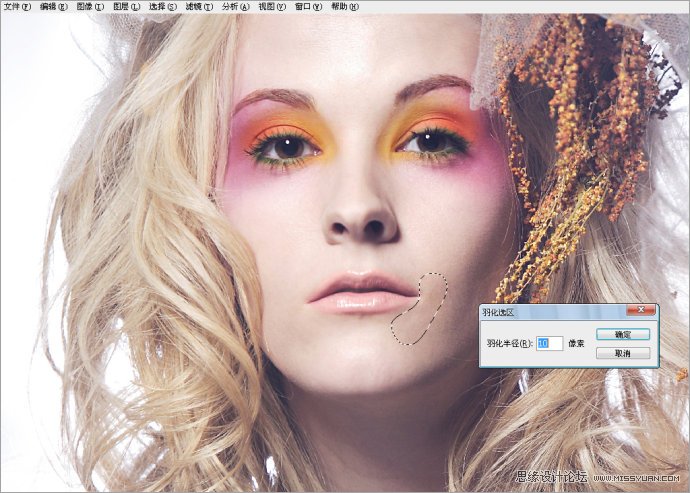
图18
盖印,然后复制图层,滤镜高反差保留,数值为4,这样是为了保留皮肤的质感。混合模式改成柔光或者叠加,我这里用的是柔光。(图20-22)
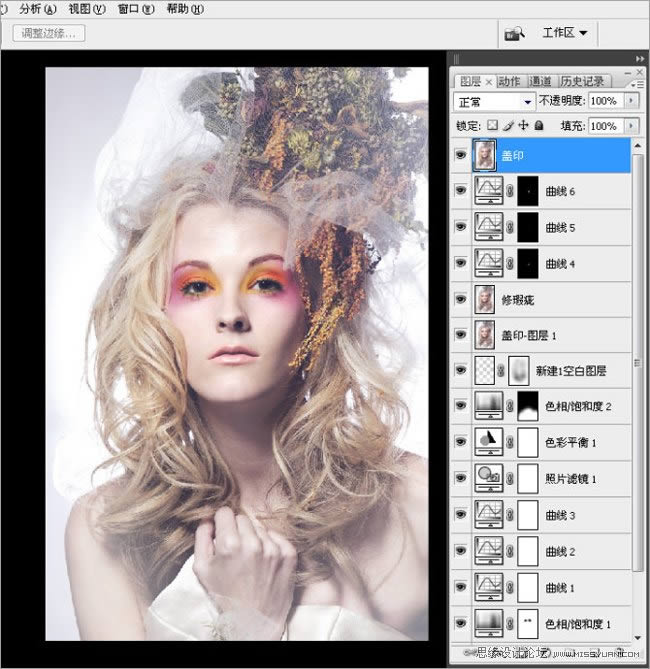
图20
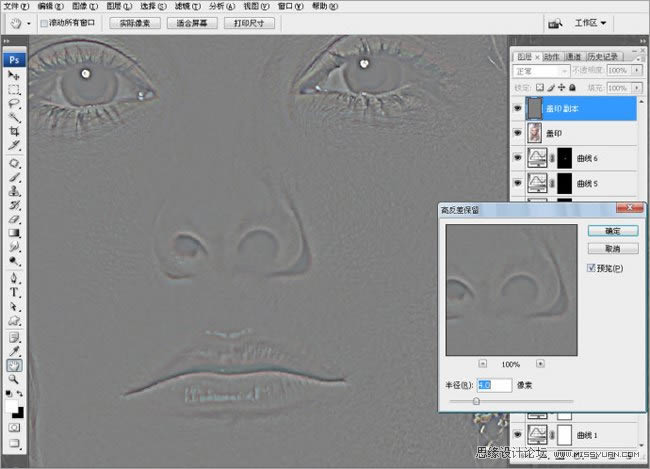
图21
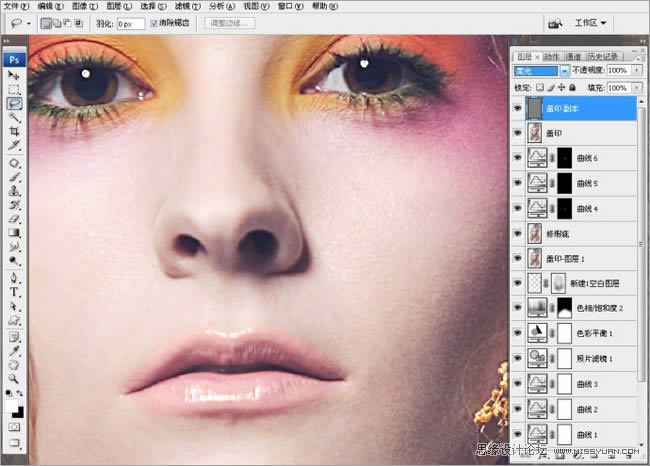
图22
在这个图层的下面,新建一个空白图层,用图章,把皮肤的过度稍微处理一下,透明度在10%左右进行细微磨皮。
大家看到,下面在磨皮的时候,因为上面有叠加的高反差,皮肤的质感还存在一些。这里千万注意,磨皮的时候,图章的透明度不能太高。(图23)
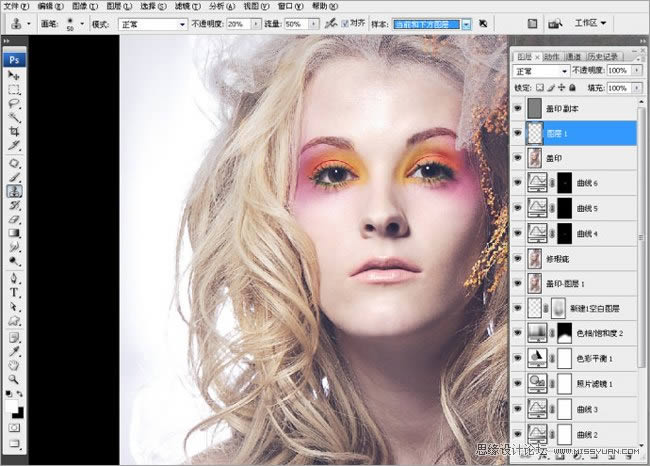
图23
下面是对妆面的必要修饰,这个妆面突出的是眼睛,把眼部的妆面细致的调色,每一个部位都是圈出以后单独的调色。调色以后盖印图层。(图24-26)
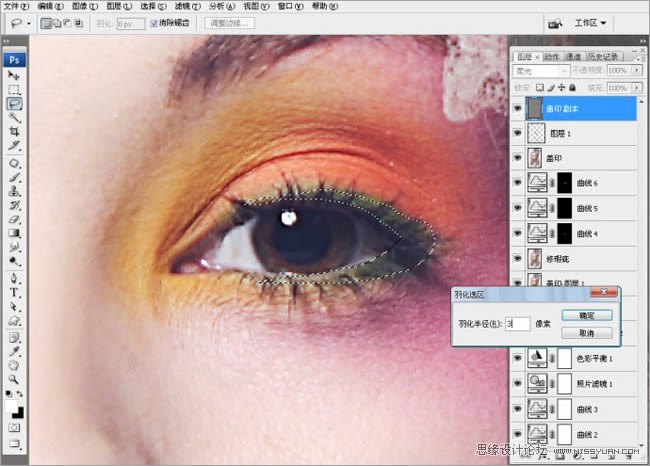
图24
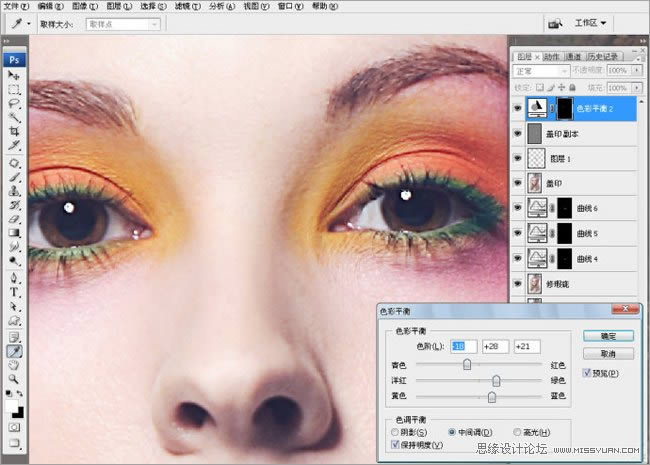
图25
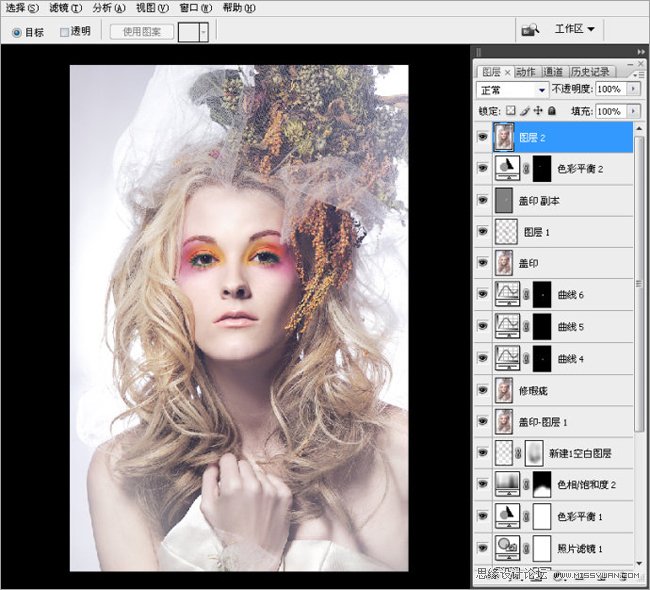
最后一步,至关重要的,就是对照片进行液化,当然这个也可以是放在第一步来做的。液化的时候,对人物的五官,进行仔细的调整。
原图的人,脸型有点歪,我们进行校正。眉毛一个高,一个低,需要调整。眼睛的大小也调整。以及鼻孔的大小等。(图27)
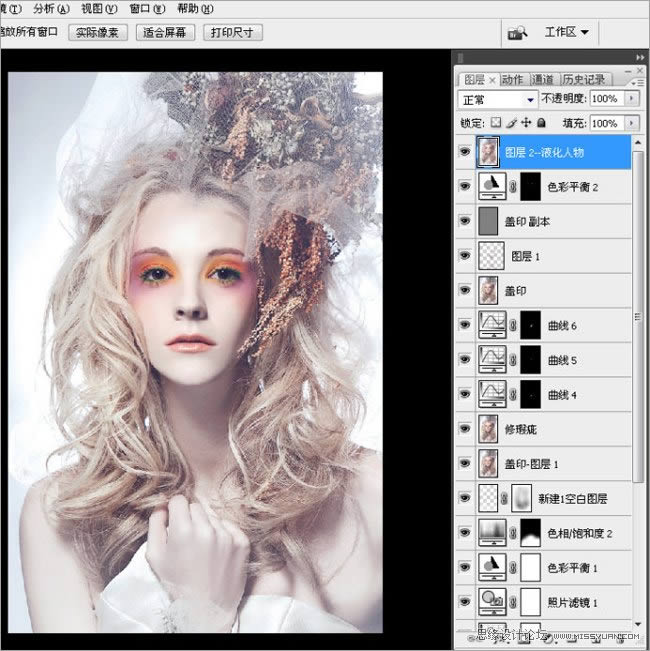
图27
最后保存,完工。最终效果:
 Photoshop默认保存的文件格式,可以保留所有有图层、色版、通道、蒙版、路径、未栅格化文字以及图层样式等。
关键词:Photoshop调出唯美白皙卷发公主头像照片