黑群晖 DSM6.1图文安装图文使用教程(黑群晖 6.1 VMware引导)
时间:2024/12/23作者:未知来源:手揣网教程人气:
- [摘要]黑群晖6.1怎么安装?黑群晖6.1安装图文教程需要什么?小编为有需要的用户带来了最新的黑群晖6.1图文安装教程,附黑群晖6.1引导文件下载。黑群晖 DSM6.1安装简明教程(附下载)黑群晖6.1 i...
黑群晖6.1怎么安装?黑群晖6.1安装图文教程需要什么?小编为有需要的用户带来了最新的黑群晖6.1图文安装教程,附黑群晖6.1引导文件下载。
黑群晖 DSM6.1安装简明教程(附下载)
黑群晖 DSM6.1简明安装教程
Step1:下载所需文件,解压如图
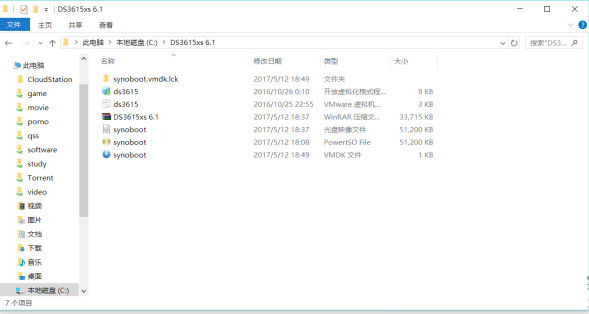
这里的文件并不是都有用,为了方便我都传上来了
Step2:下载VMworkstation 点击下载,或者免费的vmplayer。VirtualBox 点击下载 应该也可以,但我没测试,有兴趣的童鞋可以测试下
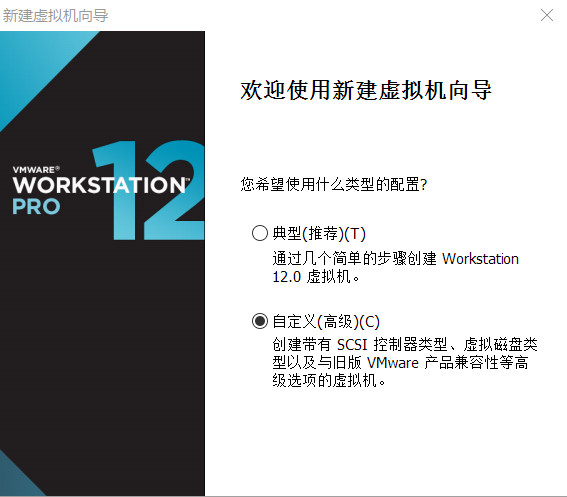
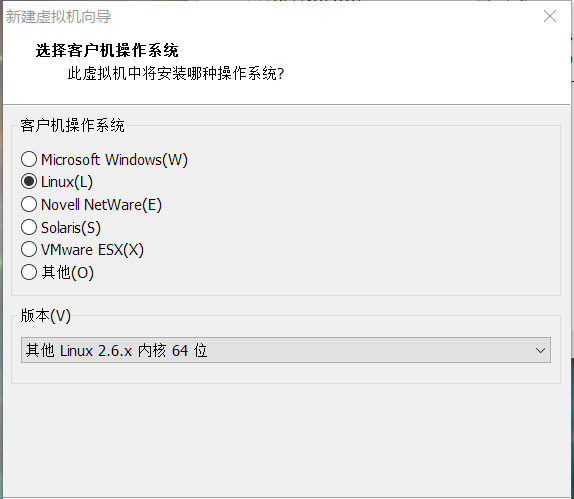
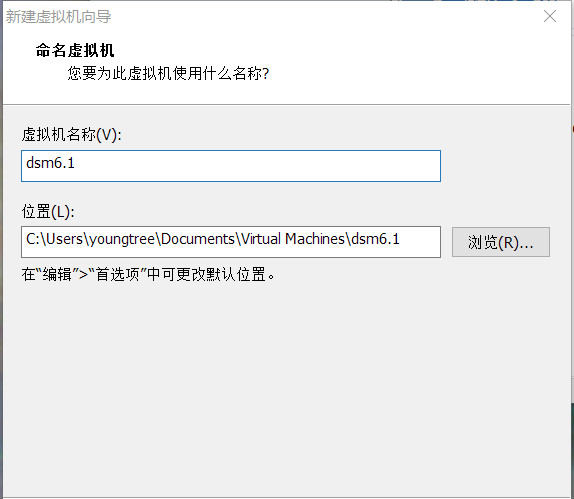
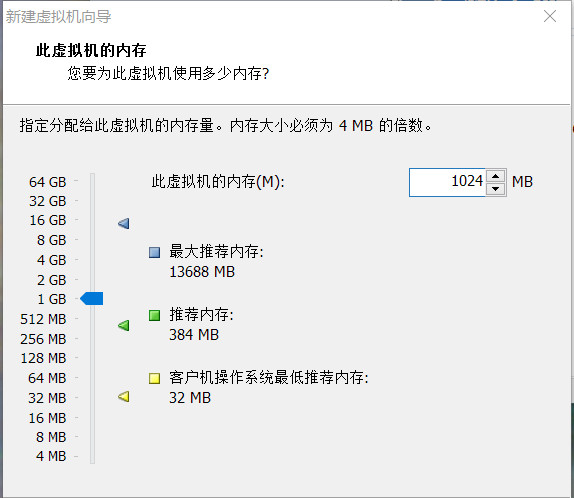
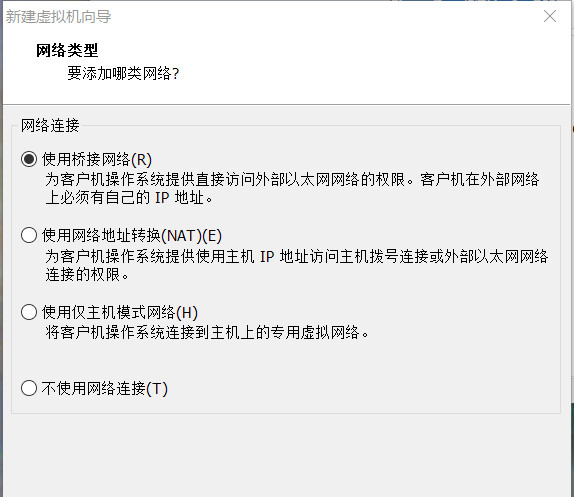
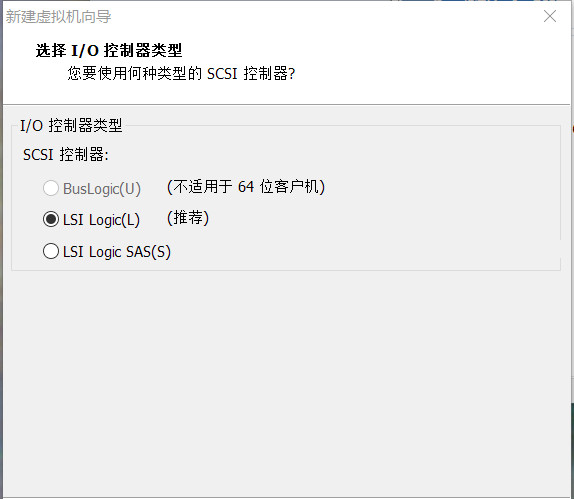
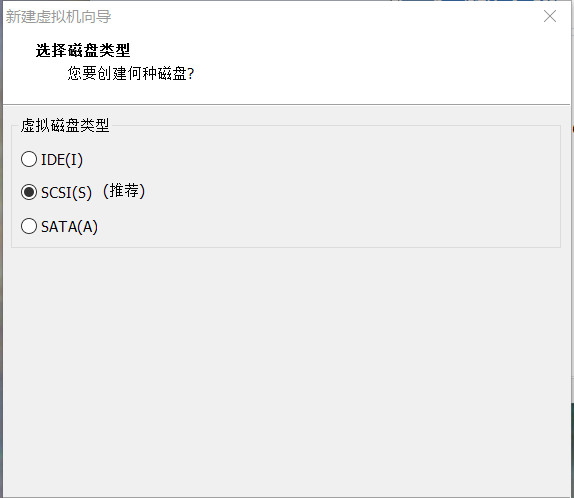
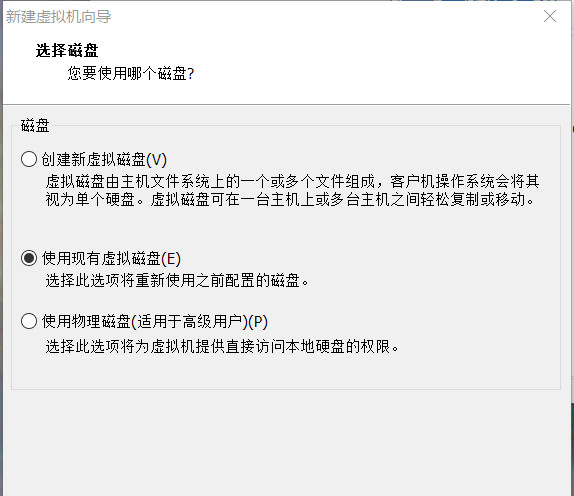
Step3:进入vmworkstation配置阶段,按照图片进行操作即可

===================================================
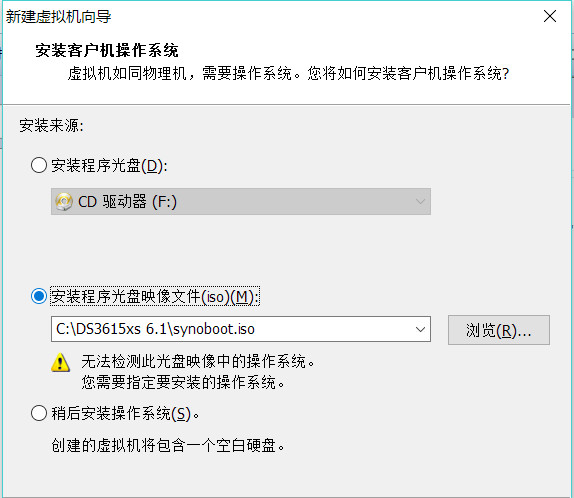
这里选择压缩包里的ISO引导文件synoboot.iso,然后下一步
====================================================

========================================================
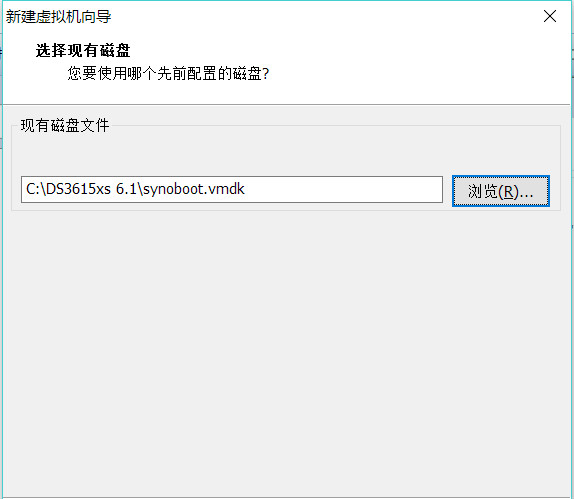
注意!这里选择下载的压缩包里的synoboot.vmdk虚拟磁盘文件
下一步,选择保持现有格式
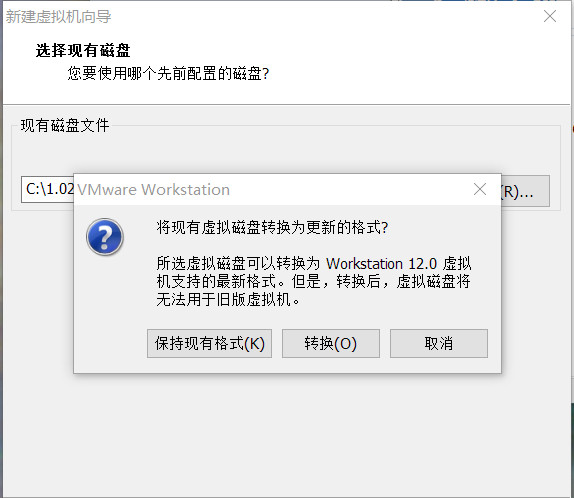
然后就暂时finish了。。。。。。
========================================================
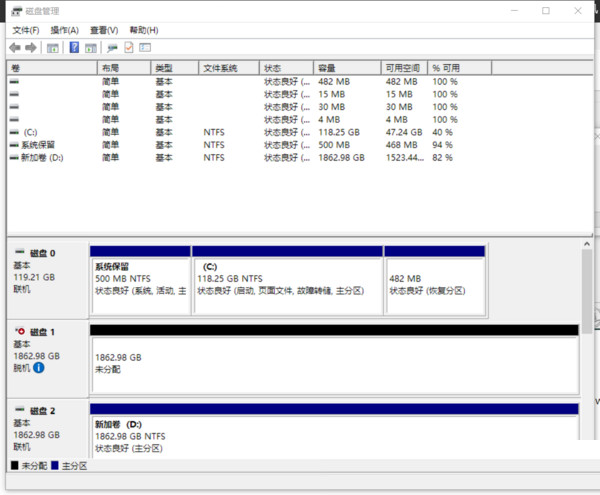
接下来添加存储,我用的是gen8,装的win10,两块盘做了raid1,直接让vmworkstation读取物理磁盘。说高端一点就是RDM,裸磁盘映射
这边要做以下操作
首先,在磁盘管理里,找到你要映射给vmworkstation使用的那快盘
恩,你看到了,我这儿是磁盘1
然后就win+R,cmd回车
进行以下操作:
========================================
list disk (查看所有磁盘)
select disk 编号(选择要映射给vm的磁盘编号)
offline disk
attribute disk clear readonly
rescan
==========================================
OK,又进一步
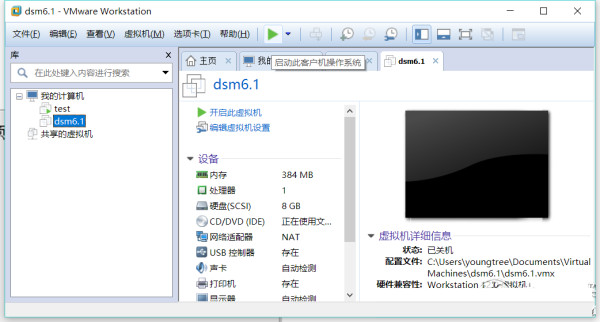
下一步就是在vm里添加这个磁盘啦.
选择刚刚新建的虚拟机,点编辑虚拟机设置
点添加硬件,按图操作
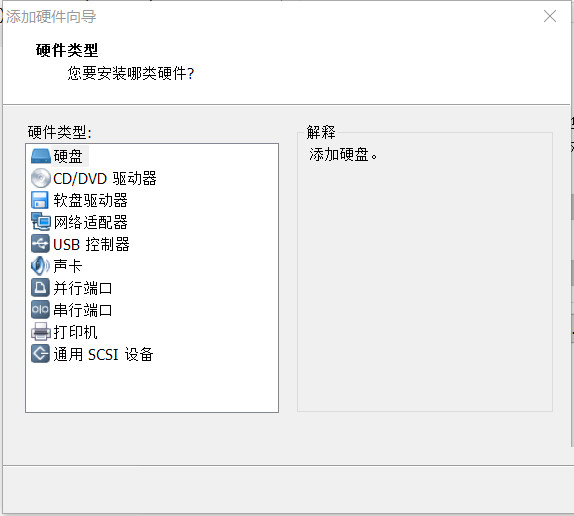
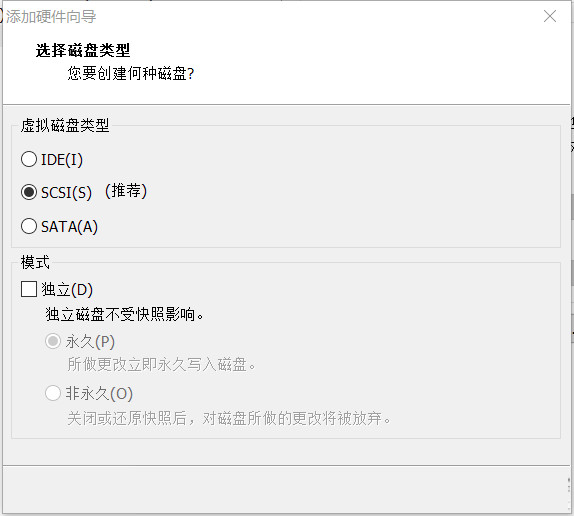
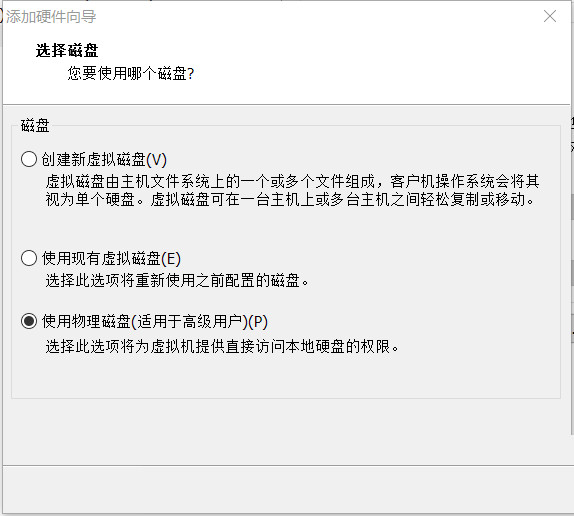
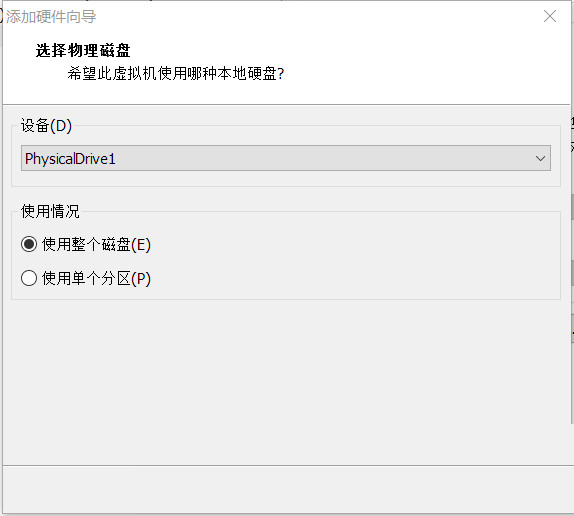
然后就真的finish了
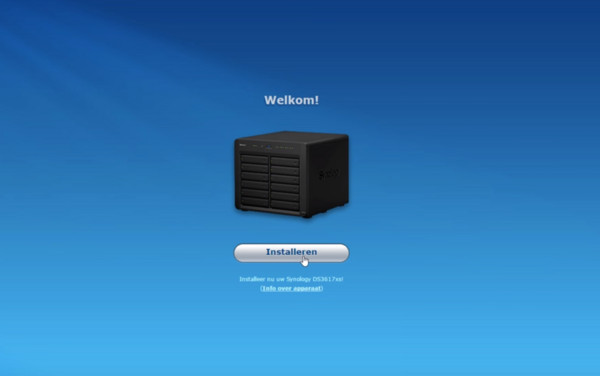
再然后,就是运行虚拟机,你会看到如下界面
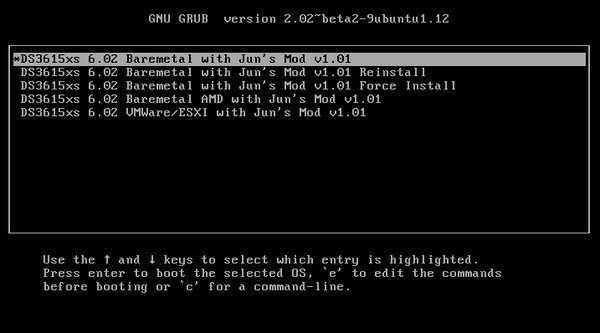
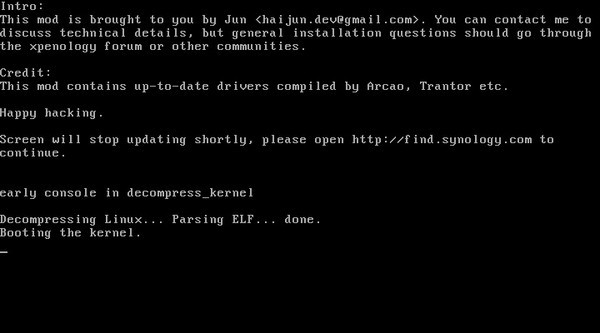
到这里,等两三分钟,打开 ,一会就找到你的黑裙了
我这儿已经装好了,就随便找了两张图,你们随意看看
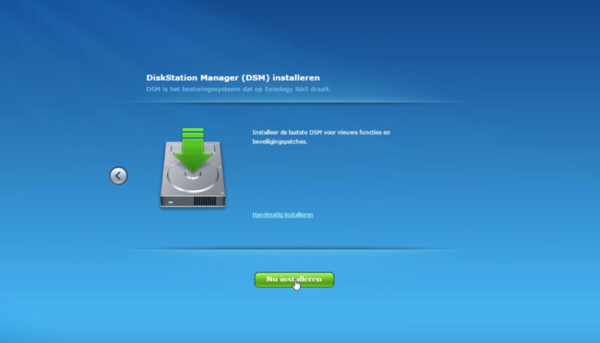
install and enjoy......
本文地址:https://www.7down.com/article/251766.html
大多数人在上网的时候,都会浏览网页提供给我们的信息。
关键词:黑群晖 DSM6.1图文安装图文详细教程(黑群晖 6.1 VMware引导)
